 QORPO
TAMITOS Camera Lab: separating a useful test view from a finished game camera
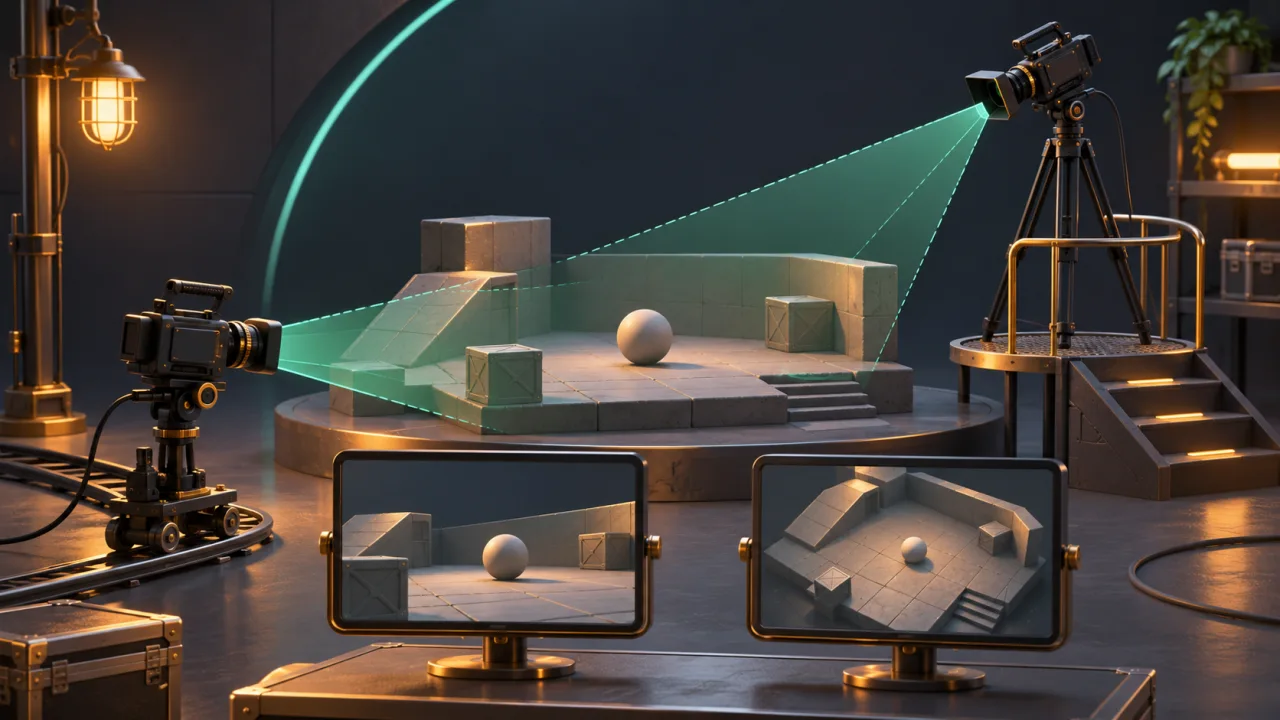
The reviewed TAMITOS development documentation describes a Camera Lab for comparing viewpoints and movement settings in Unreal’s editor play mode. Its purpose is experimentation. It does not establish that those controls are released player features or that the resulting camera already feels right in a finished game.
A useful camera test separates what the tool lets a developer change from what has actually been observed during play. That distinction is central to reading this development work accurately.
What the documentation describes
The inspected project snapshot includes a document covering editor playtesting, movement and camera controls. It names several viewpoints, including top, side, diorama, cinematic and third-person views, alongside the original view.
The document describes selecting a camera and returning control to the test session. It also describes live movement adjustments. Those are statements about the documented development setup, not a public menu announcement.
This review is based on the project snapshot inspected on 20 November 2026. We did not run its Unreal editor, compile the referenced source module or execute its movement tests while preparing this article.
Why use several views of the same movement?
A jump can look readable from one angle and become difficult to judge from another. A side view exposes height and landing distance, while an elevated view may make the surrounding route easier to understand.
A camera lab offers a way to ask those questions without presenting each experimental viewpoint as a final product decision. The point is to compare the same movement under different viewing conditions.
For a model review, keep the character, obstacle and starting position fixed. Change the camera view, then observe whether the take-off, landing area and movement direction remain clear. This is a proposed comparison, not a recorded TAMITOS playtest result.
Keep camera changes separate from movement changes
The document also describes adjustable movement and jump settings. That flexibility is useful, but changing both the view and the jump during one comparison makes the result harder to interpret.
Start with a fixed movement setup. Compare the views first. If a route becomes easier to read, the reviewer can explain which visible information changed.
Then hold the camera steady while reviewing a movement adjustment. Our repeatable test-fixture guide explains why a clear expected result helps keep a small experiment useful.
A test camera can have deliberate limitations
The reviewed notes describe camera behaviour intended for a controlled lab, including keeping the selected test distance rather than automatically pulling the camera inward around obstacles.
That may help a developer compare framing, but it does not establish the right obstruction handling for a finished player camera. A wall between the camera and character remains a situation that needs a product-level decision and observation.
A test setting should therefore be documented with its purpose. Otherwise a reviewer might mistake a diagnostic choice for a promise about the final game’s behaviour.
Movement direction needs a visible check
The document describes movement relative to the displayed camera. A model acceptance check would compare the direction requested by the player with the movement seen after switching viewpoints.
Test ordinary movement, a diagonal and a transition back from the lab panel. Watch whether control returns to the intended character and whether the next input produces the expected direction.
These cases are useful because a camera can be visually attractive while leaving control confusing. A screenshot establishes the composition of one moment; it cannot establish the feel of steering through a route.
What a rendered playtest must add
The project notes explicitly distinguish headless verification from visual feel in the rendered editor viewport. Preserve that distinction when reporting progress.
A compile result, when actually available, can establish that a build step succeeded. An automated check can establish the particular behaviour it tests. Neither observation substitutes for a person trying the camera, reading the route and judging the timing of an ordinary movement.
Our prototype versus production guide applies the same reasoning to the wider release process. Each kind of evidence answers a different question.
How to review the next iteration
A compact camera review can use one route with a low obstacle, a landing area and a moment where scenery crosses the view. Record the camera mode, movement settings and starting state.
Describe what the reviewer can see and control. If the landing is hidden, identify the location and viewpoint. If the character becomes difficult to track, include the transition that caused it.
Avoid turning those observations into an unsupported preference for every player. The useful result is a specific next adjustment and a repeatable route for assessing it.
What this means for TAMITOS progress
The documented lab gives the team a framework for asking concrete camera and movement questions. The existence of that framework is different from evidence that every viewpoint or movement setting is ready to ship.
The referenced source submodule was unavailable to this review, so implementation details beyond the inspected documentation remain unverified. There is no claim here of a new public game-camera release.
Follow TAMITOS within QORPO Studio and the live development page for broader context. Clear boundaries between a test tool, an observed result and a finished interaction make development updates more useful.
Sources
- QORPO Studio review of TAMITOS project Camera Lab documentation in the development snapshot inspected 20 November 2026.
- TAMITOS, public product context.