 QORPO
Unreal art comparisons: match exposure before judging the light
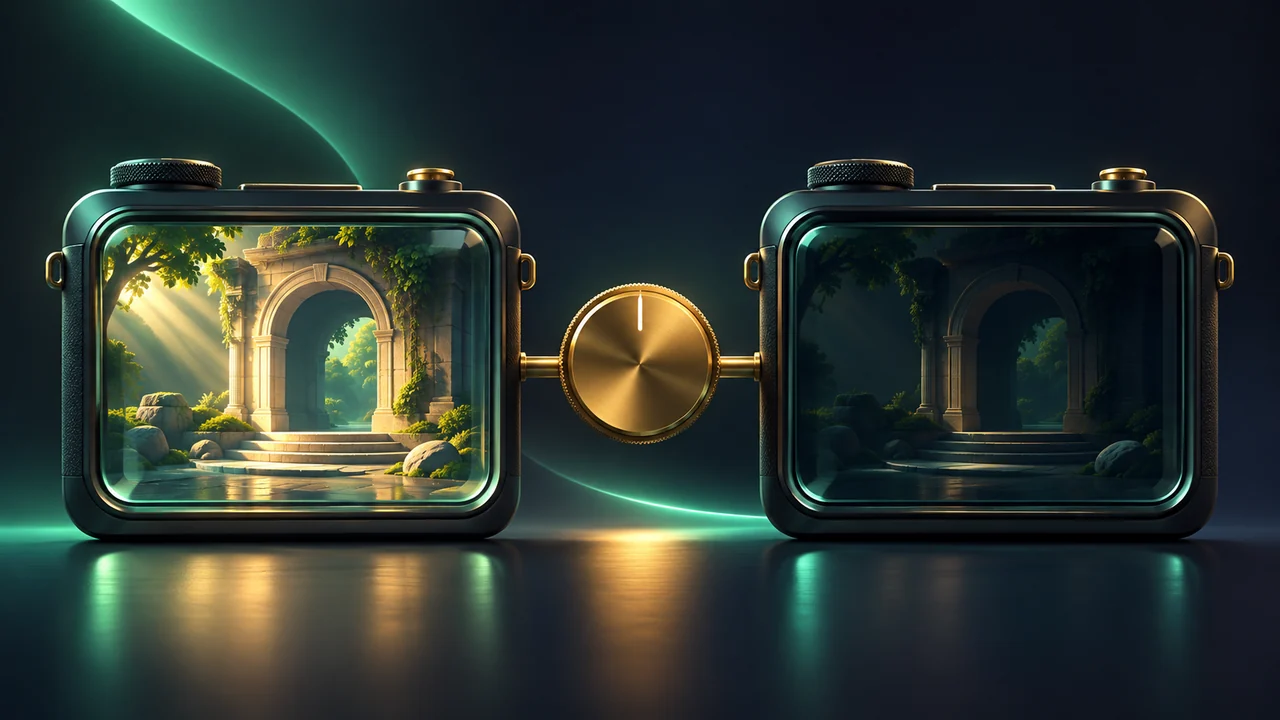
Before judging two Unreal environment captures, match the camera and exposure conditions. Automatic exposure can change the apparent brightness as the view changes, so two screenshots may differ even when the surface you want to compare has not changed. Use a controlled comparison first, then return to the intended gameplay exposure for a separate review.
State what the comparison is meant to decide
“Which version looks better?” is often too broad. You might be checking whether a doorway reads clearly, whether a material became brighter or whether a revised light improves a particular landmark. Choose one question before collecting images.
This is a proposed art-review procedure, not a report that QORPO ran a benchmark or found a defect in a particular game. It addresses a narrow source of misleading comparisons. Performance, accessibility and gameplay readability still require their own checks.
Our guide to reproducing a visual bug before taking a screenshot covers the surrounding evidence. Here, the missing context is the exposure state of the camera.
Know what automatic exposure can change
Epic's Auto Exposure documentation describes adjustment of scene exposure in response to brightness. Its manual mode provides a fixed exposure unaffected by scene luminance. The documentation also describes local exposure as a separate adjustment on top of global exposure.
Those distinctions explain why writing “same scene” is not enough. A camera aimed at a bright opening can produce a different-looking capture from one aimed mostly at a dark wall. Match the relevant settings for your engine version rather than copying a value from an unrelated project.
Build one repeatable camera view
For an imaginary doorway review, choose a standing position and viewing direction. Record the camera or reproducible location, field of view, resolution and the relevant scene state. Keep the character or object placement consistent if it affects the question.
Capture a baseline before changing the light or material. Give the baseline a version label that another person can find. If you cannot return to the same view, the next screenshot may compare composition as much as it compares the intended art change.
Do not conceal a different time of day behind a matching filename. If dynamic lighting is part of the test, describe the controlled point in that cycle and then plan a separate moving-world review.
Separate controlled exposure from the intended experience
For the bounded comparison, use a documented exposure configuration that makes the two captures comparable. This might involve manual exposure in a dedicated review setup. Record whether physical camera exposure and local exposure are relevant to that setup.
This is not a recommendation to disable exposure throughout the finished game. A controlled review asks one question. The actual player experience asks another, including what happens when the player turns or crosses a bright doorway.
Keep the review setup distinct so its settings do not accidentally become production defaults. The effective settings guide explains a related discipline: establish what a setting actually is before interpreting a comparison.
Make one art change and repeat the capture
In our model scenario, the doorway material changes while the camera, scene state and review exposure stay fixed. Compare the baseline and revision at the same display size. Inspect the doorway, rather than letting a brighter overall image win automatically.
If you also change the light intensity, camera framing and post-process settings, record a new comparison with a different purpose. It may be a valid art direction change, but it no longer isolates the material revision.
Use ordinary observations in the review note: the edge separates from the wall, the floor detail disappears or the bright opening dominates the frame. Avoid invented measurements such as a percentage improvement in readability when no such study took place.
Return to movement after the still-image decision
Restore the intended gameplay configuration and repeat the relevant route. Include looking away from the doorway, approaching it and moving through it. The controlled stills helped isolate one issue; they did not establish that every transition feels right.
A reference image can look convincing while a moving scene still produces distraction or confusion. Keep the observations separate. Our camera motion and frame-hitch explanation similarly separates different causes of an uncomfortable view rather than solving all of them with one attractive capture.
Questions about exposure comparisons
Does manual exposure always make a scene look better?
No. It offers a controlled condition for a particular comparison. Artistic quality depends on the intended scene and experience, not on choosing one metering mode universally.
Can two screenshots prove a gameplay readability improvement?
They can support an art discussion about a specified view. A stronger gameplay claim needs a relevant moving test and evidence from the intended task. Do not substitute a preference for a measured user outcome.
What should accompany the images?
Include engine and build version, camera setup, scene state, the exposure configuration and the exact change being compared. Preserve unresolved differences instead of adjusting them silently after capture.
Read more QORPO production guides and follow the studio. This article proposes a repeatable review, not a promise that a particular setting removes every lighting problem.
Primary source: Epic Games, Auto Exposure, reviewed 3 November 2026. The doorway scenario and review sequence are original QORPO editorial examples. There is no implied Epic partnership or endorsement.